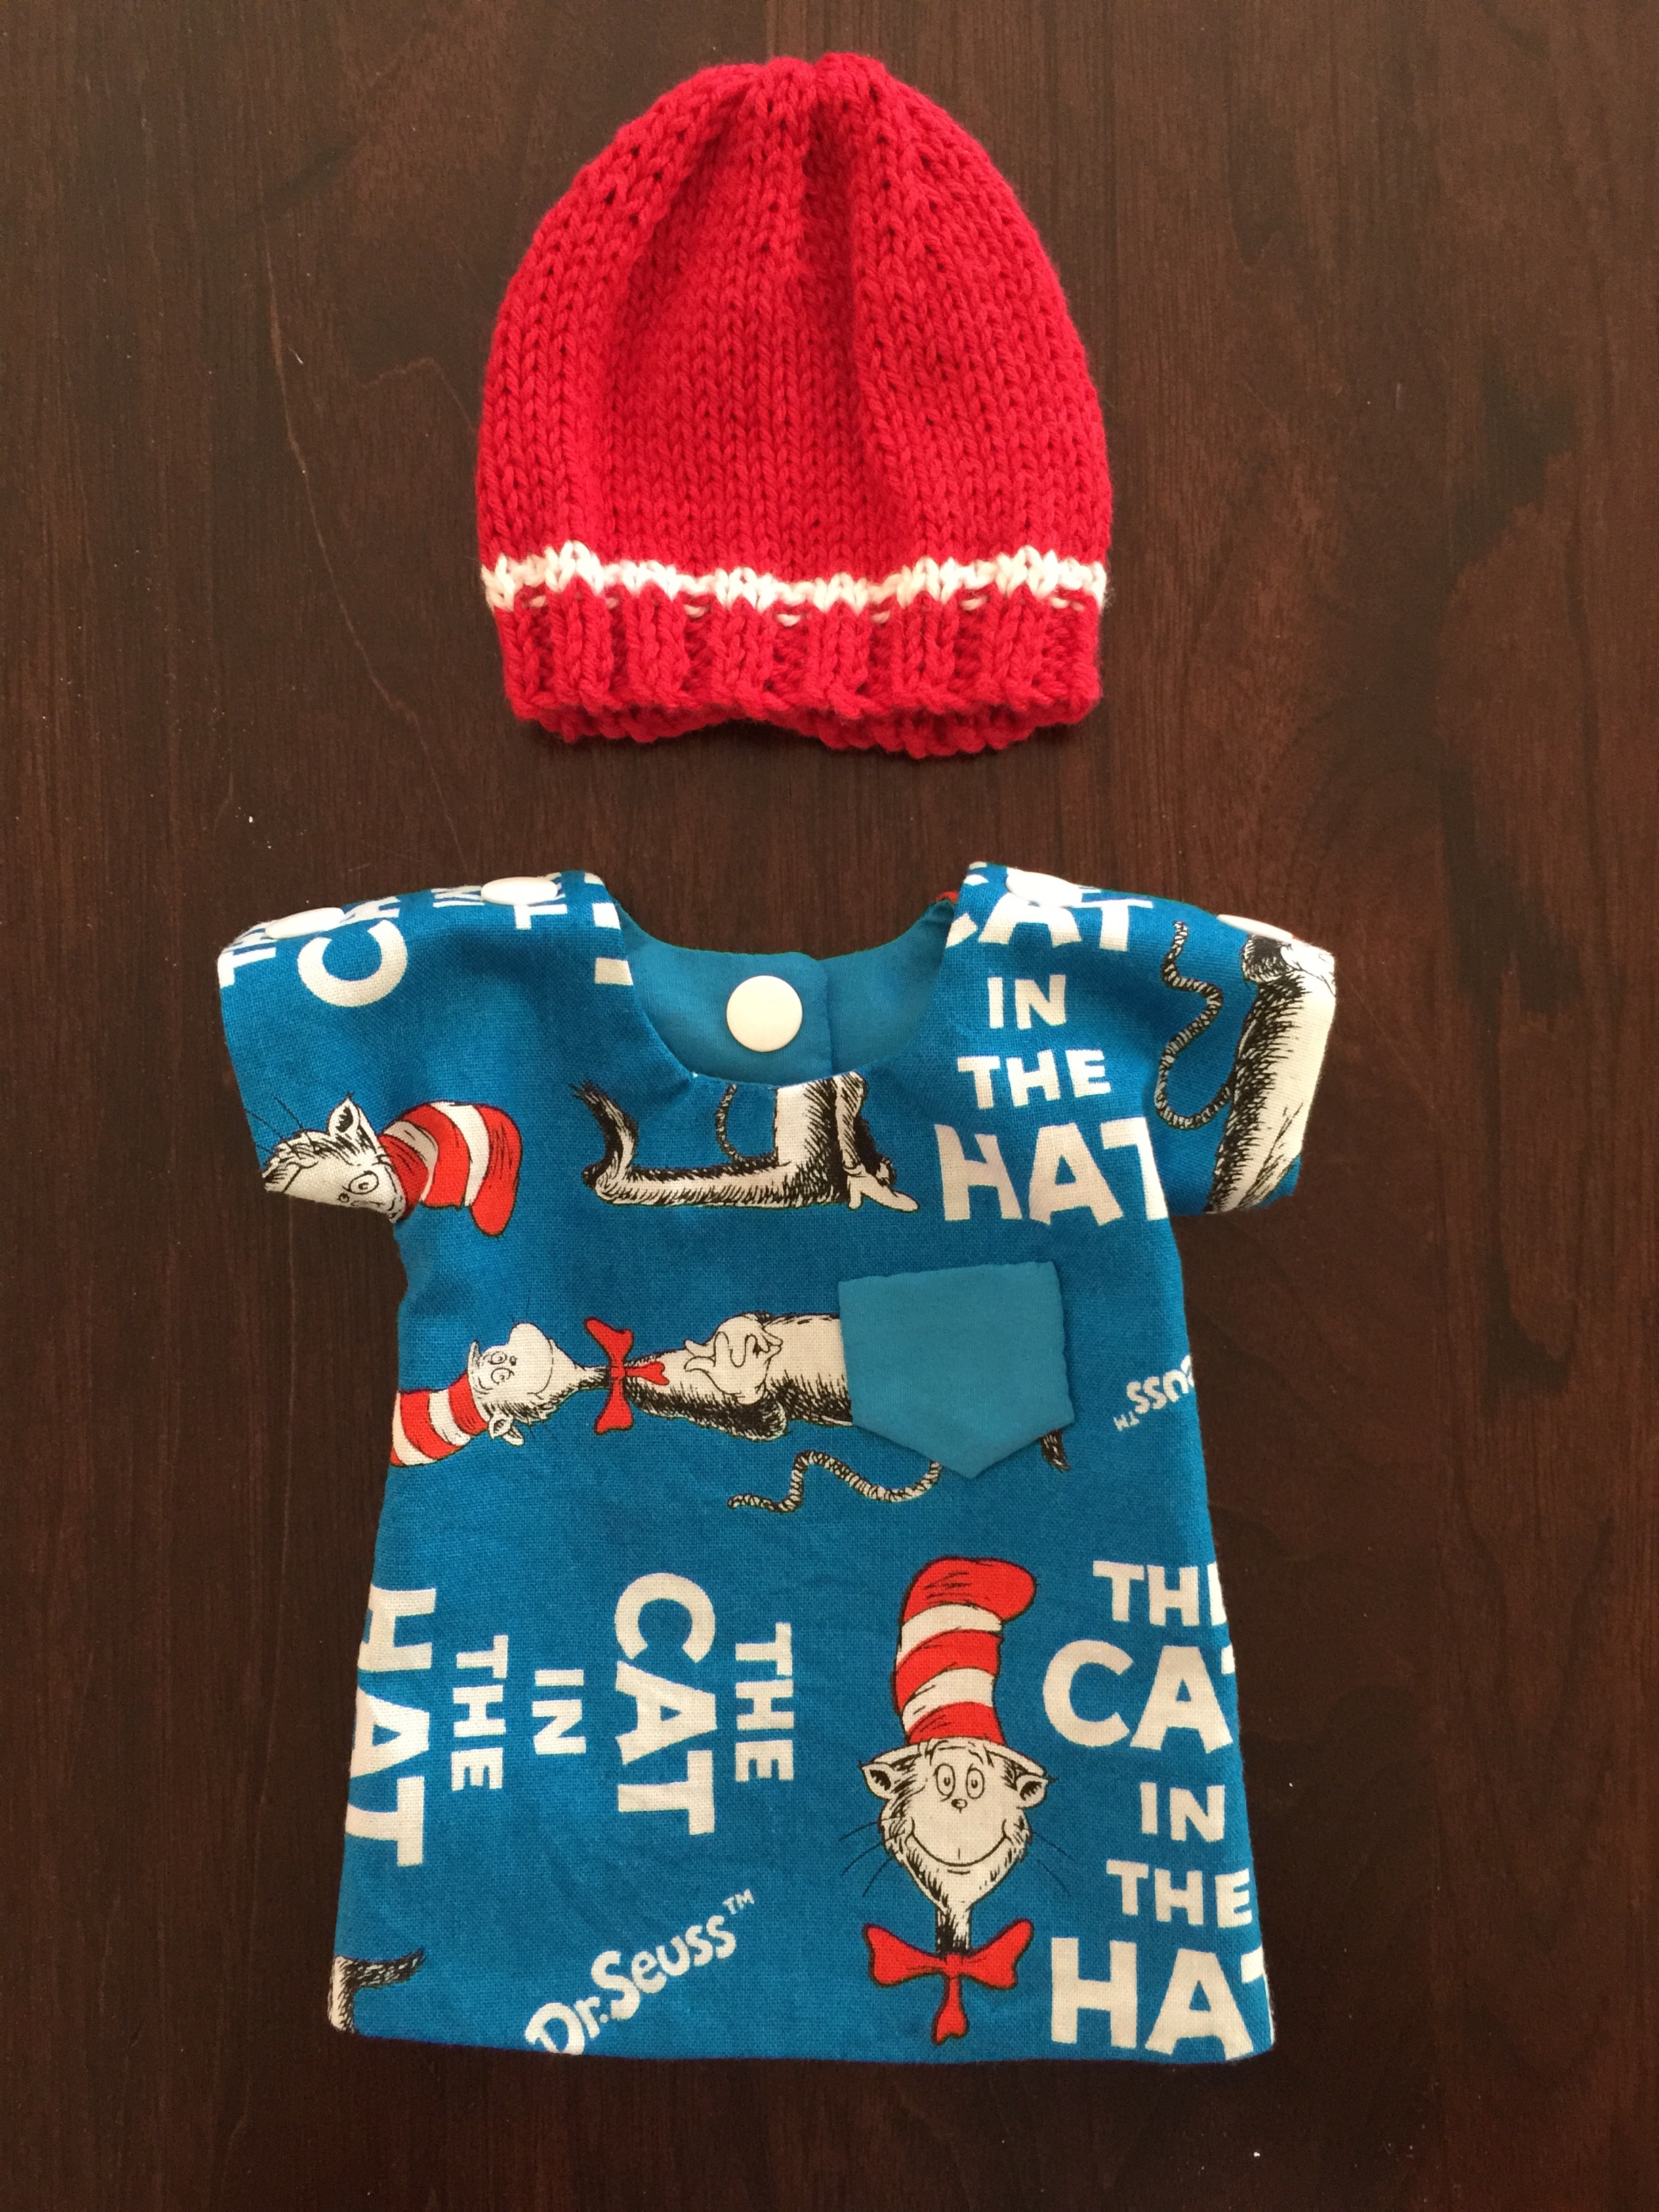
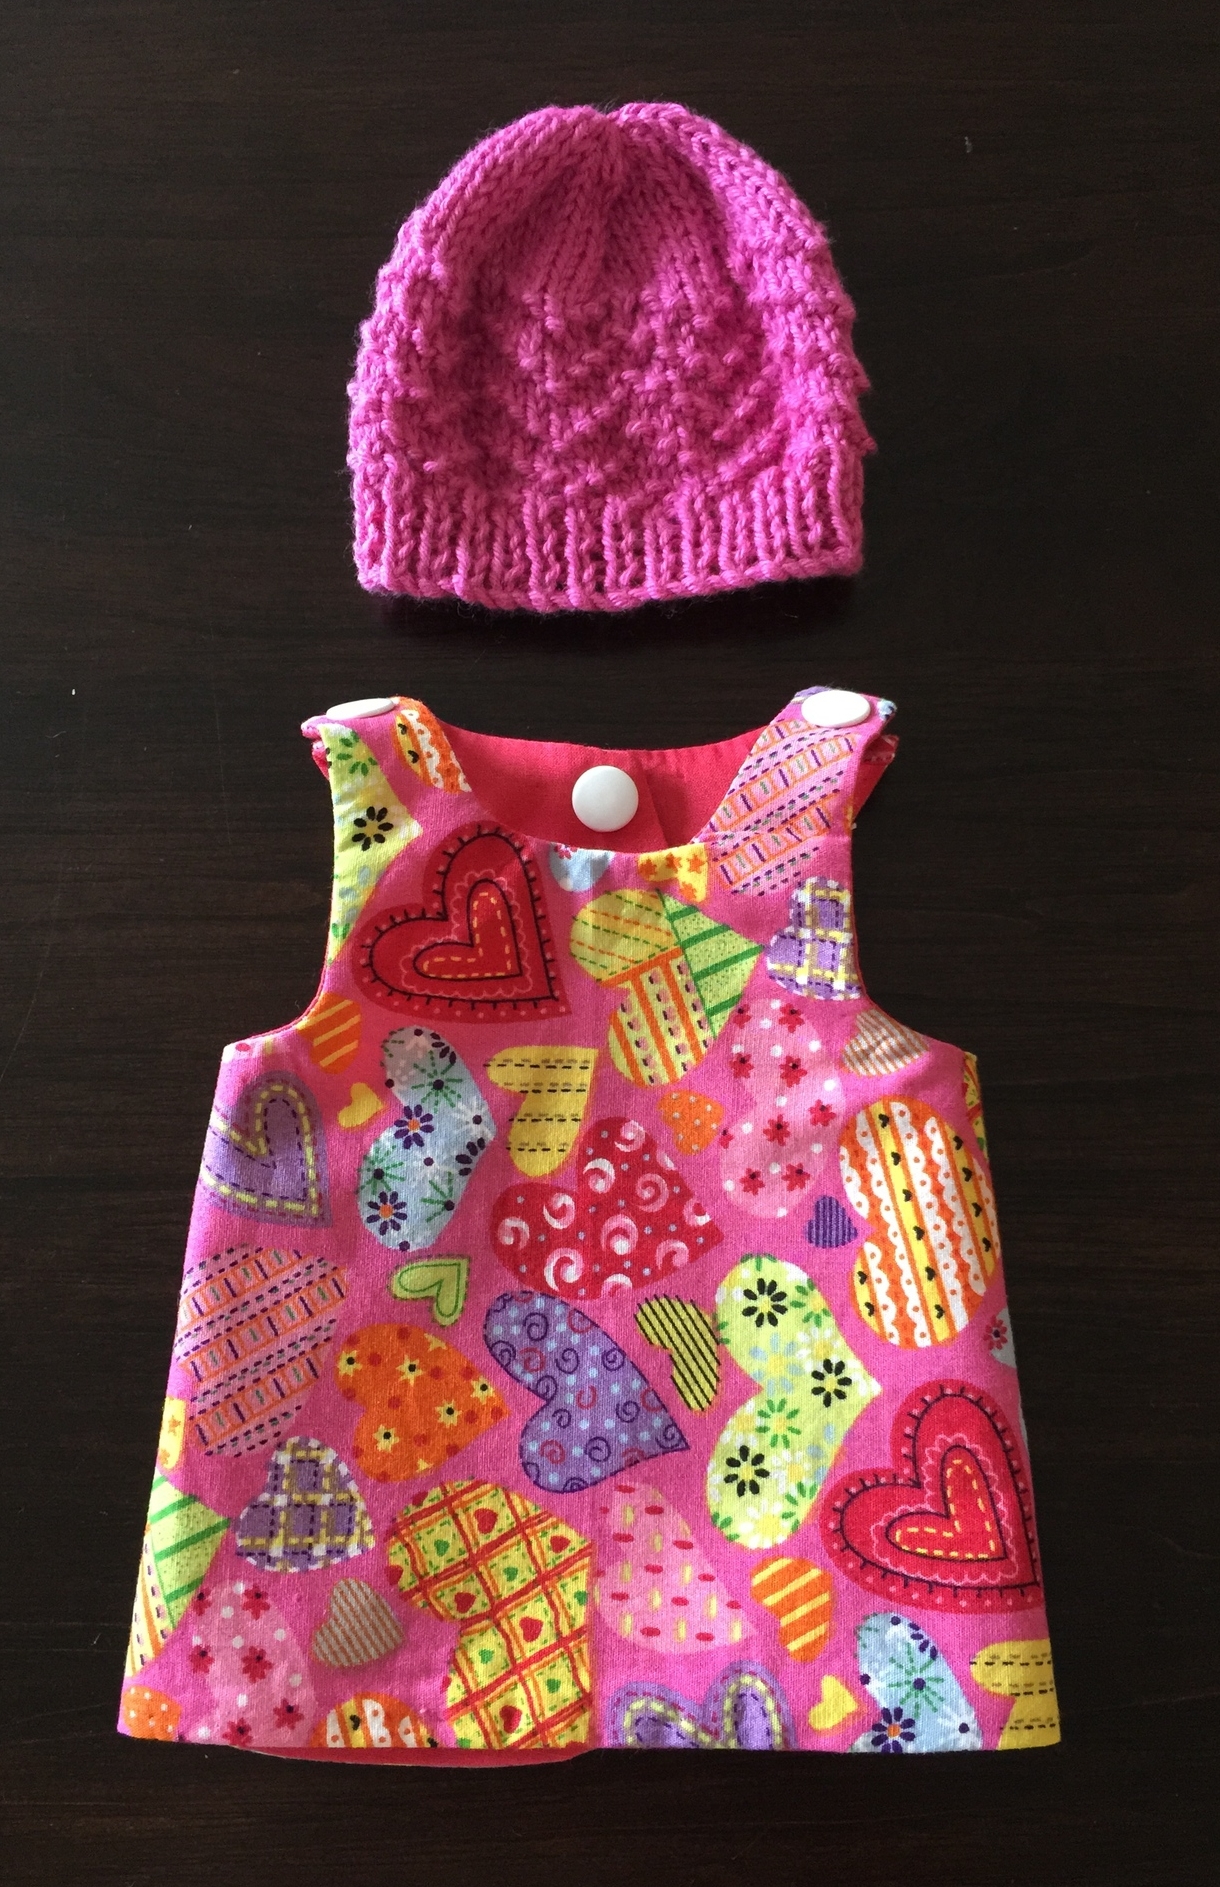
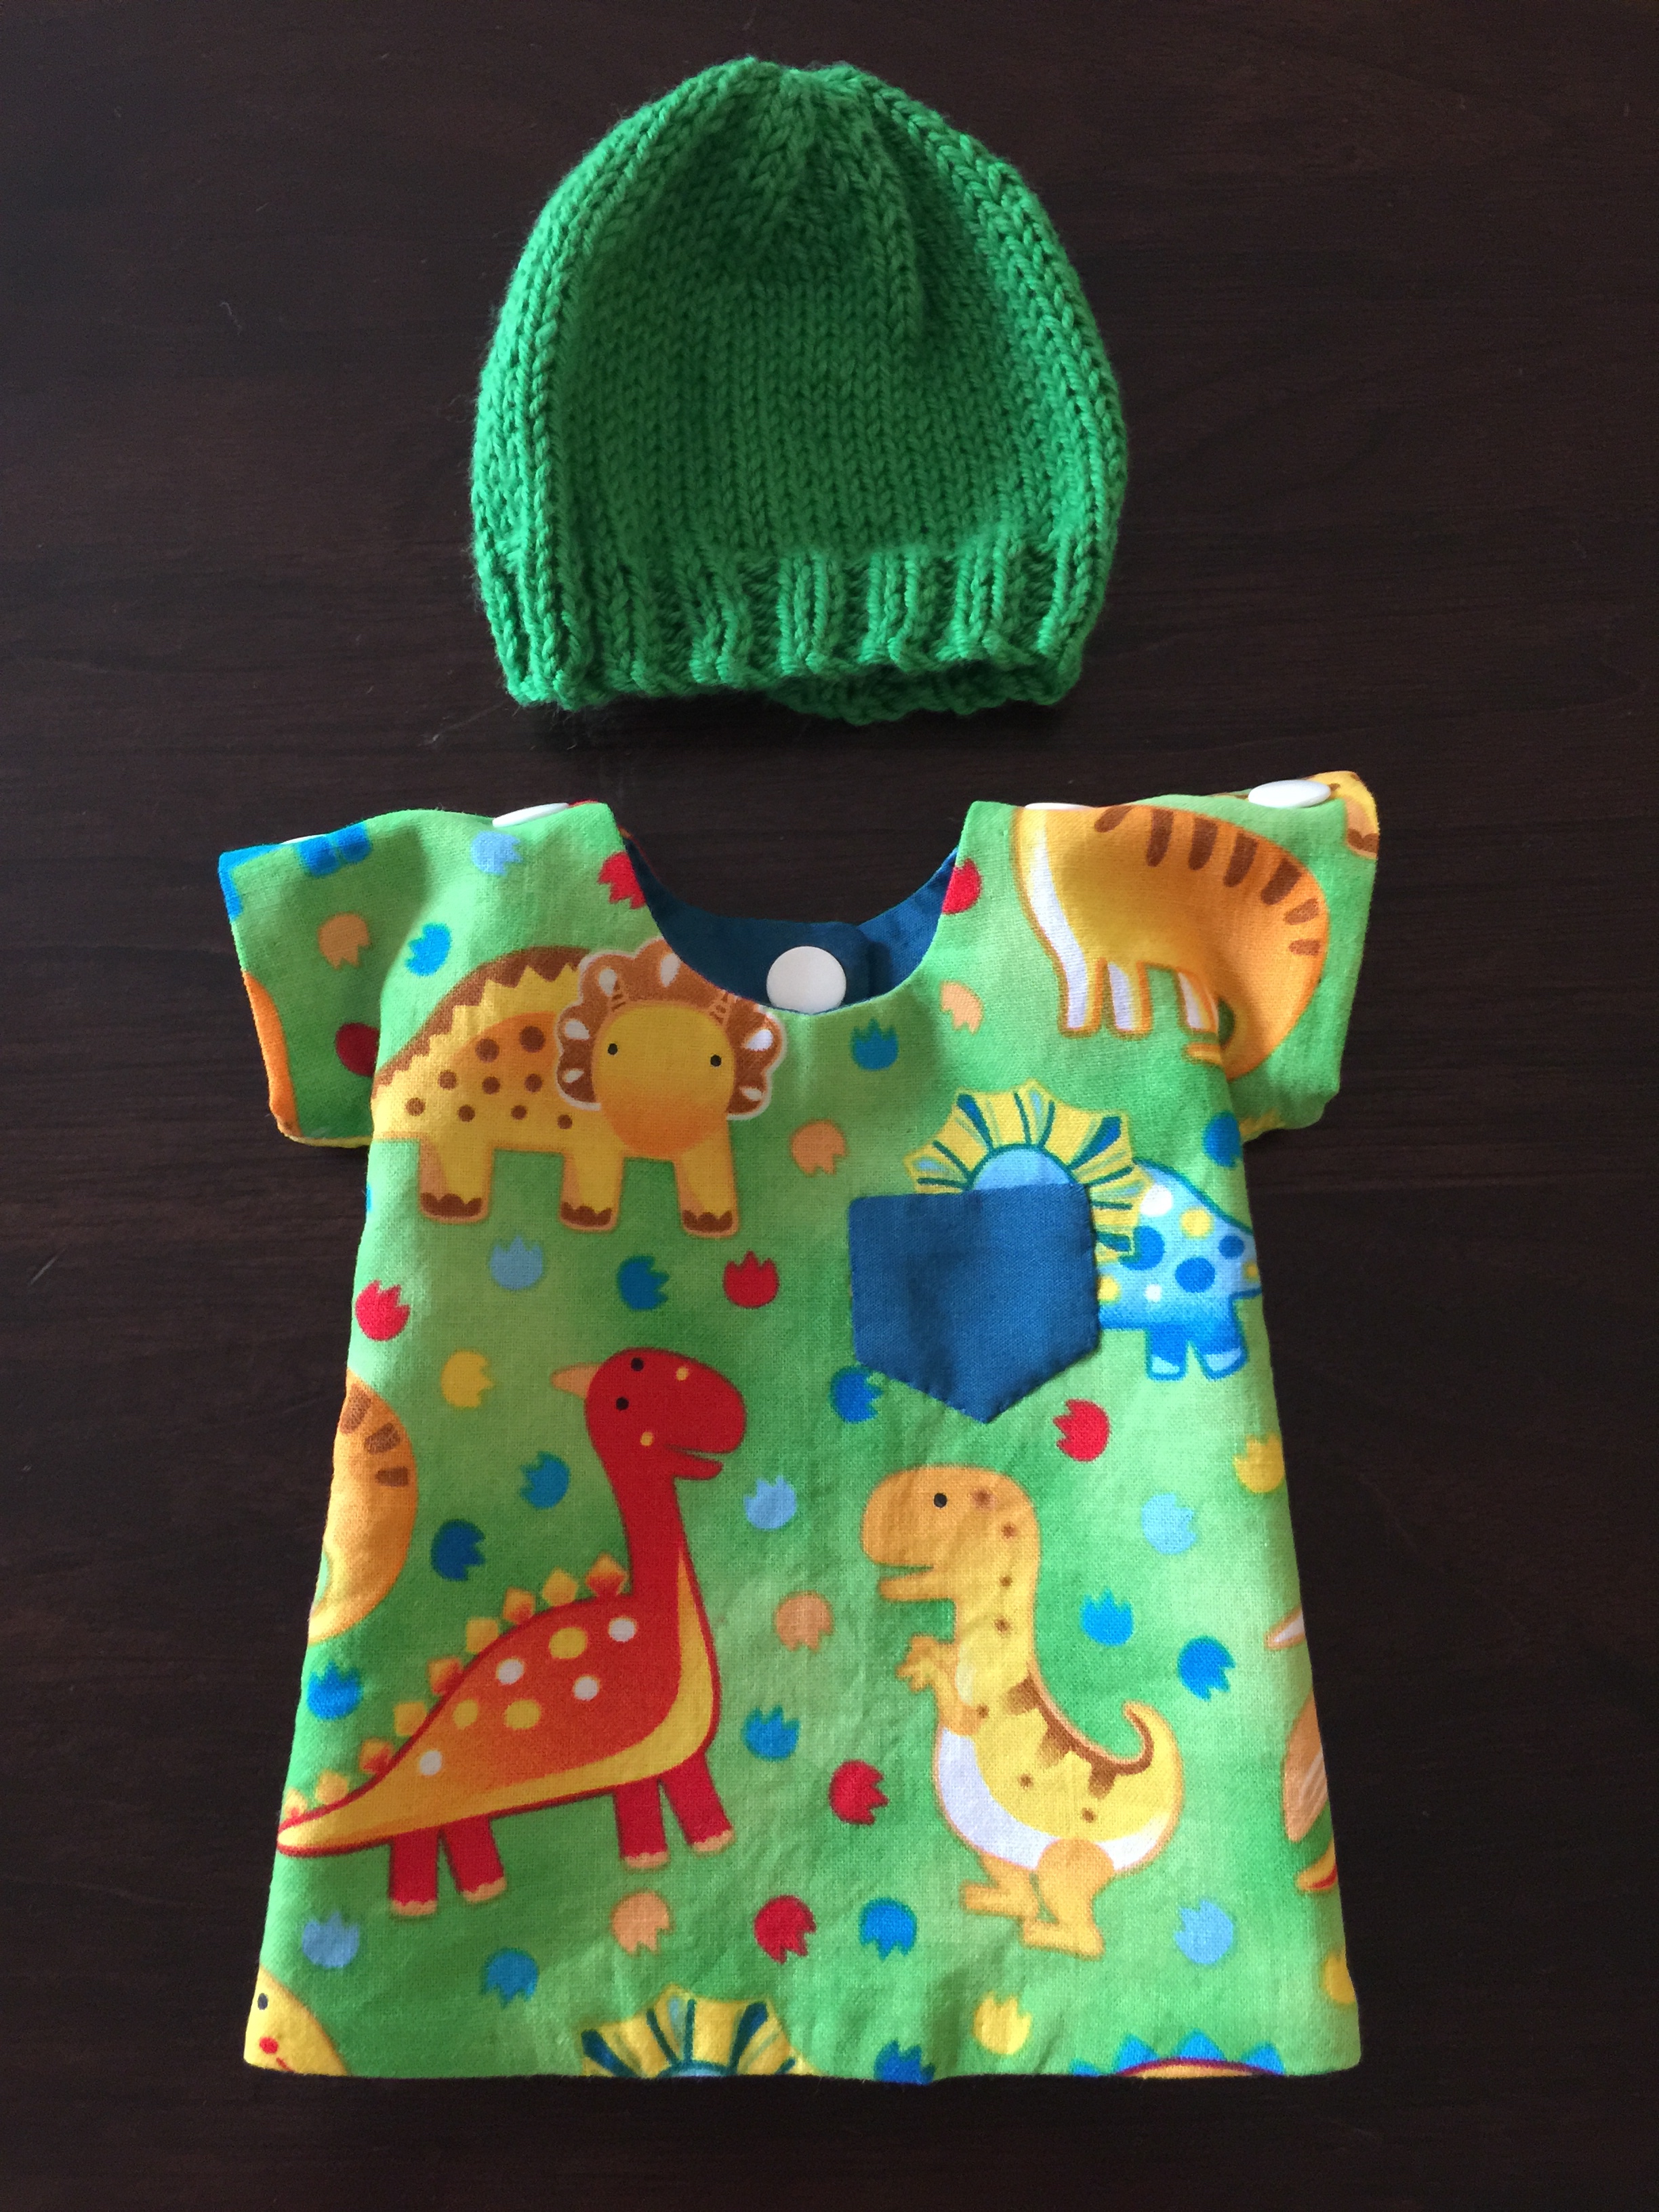
These outfits have distinct girls and boys designs, are lined and include press-stud backs and shoulders for Neonatal Unit compatibility. The outfits are sized to fit up to approximately 1.2kg and 'up to 1.6kg'.
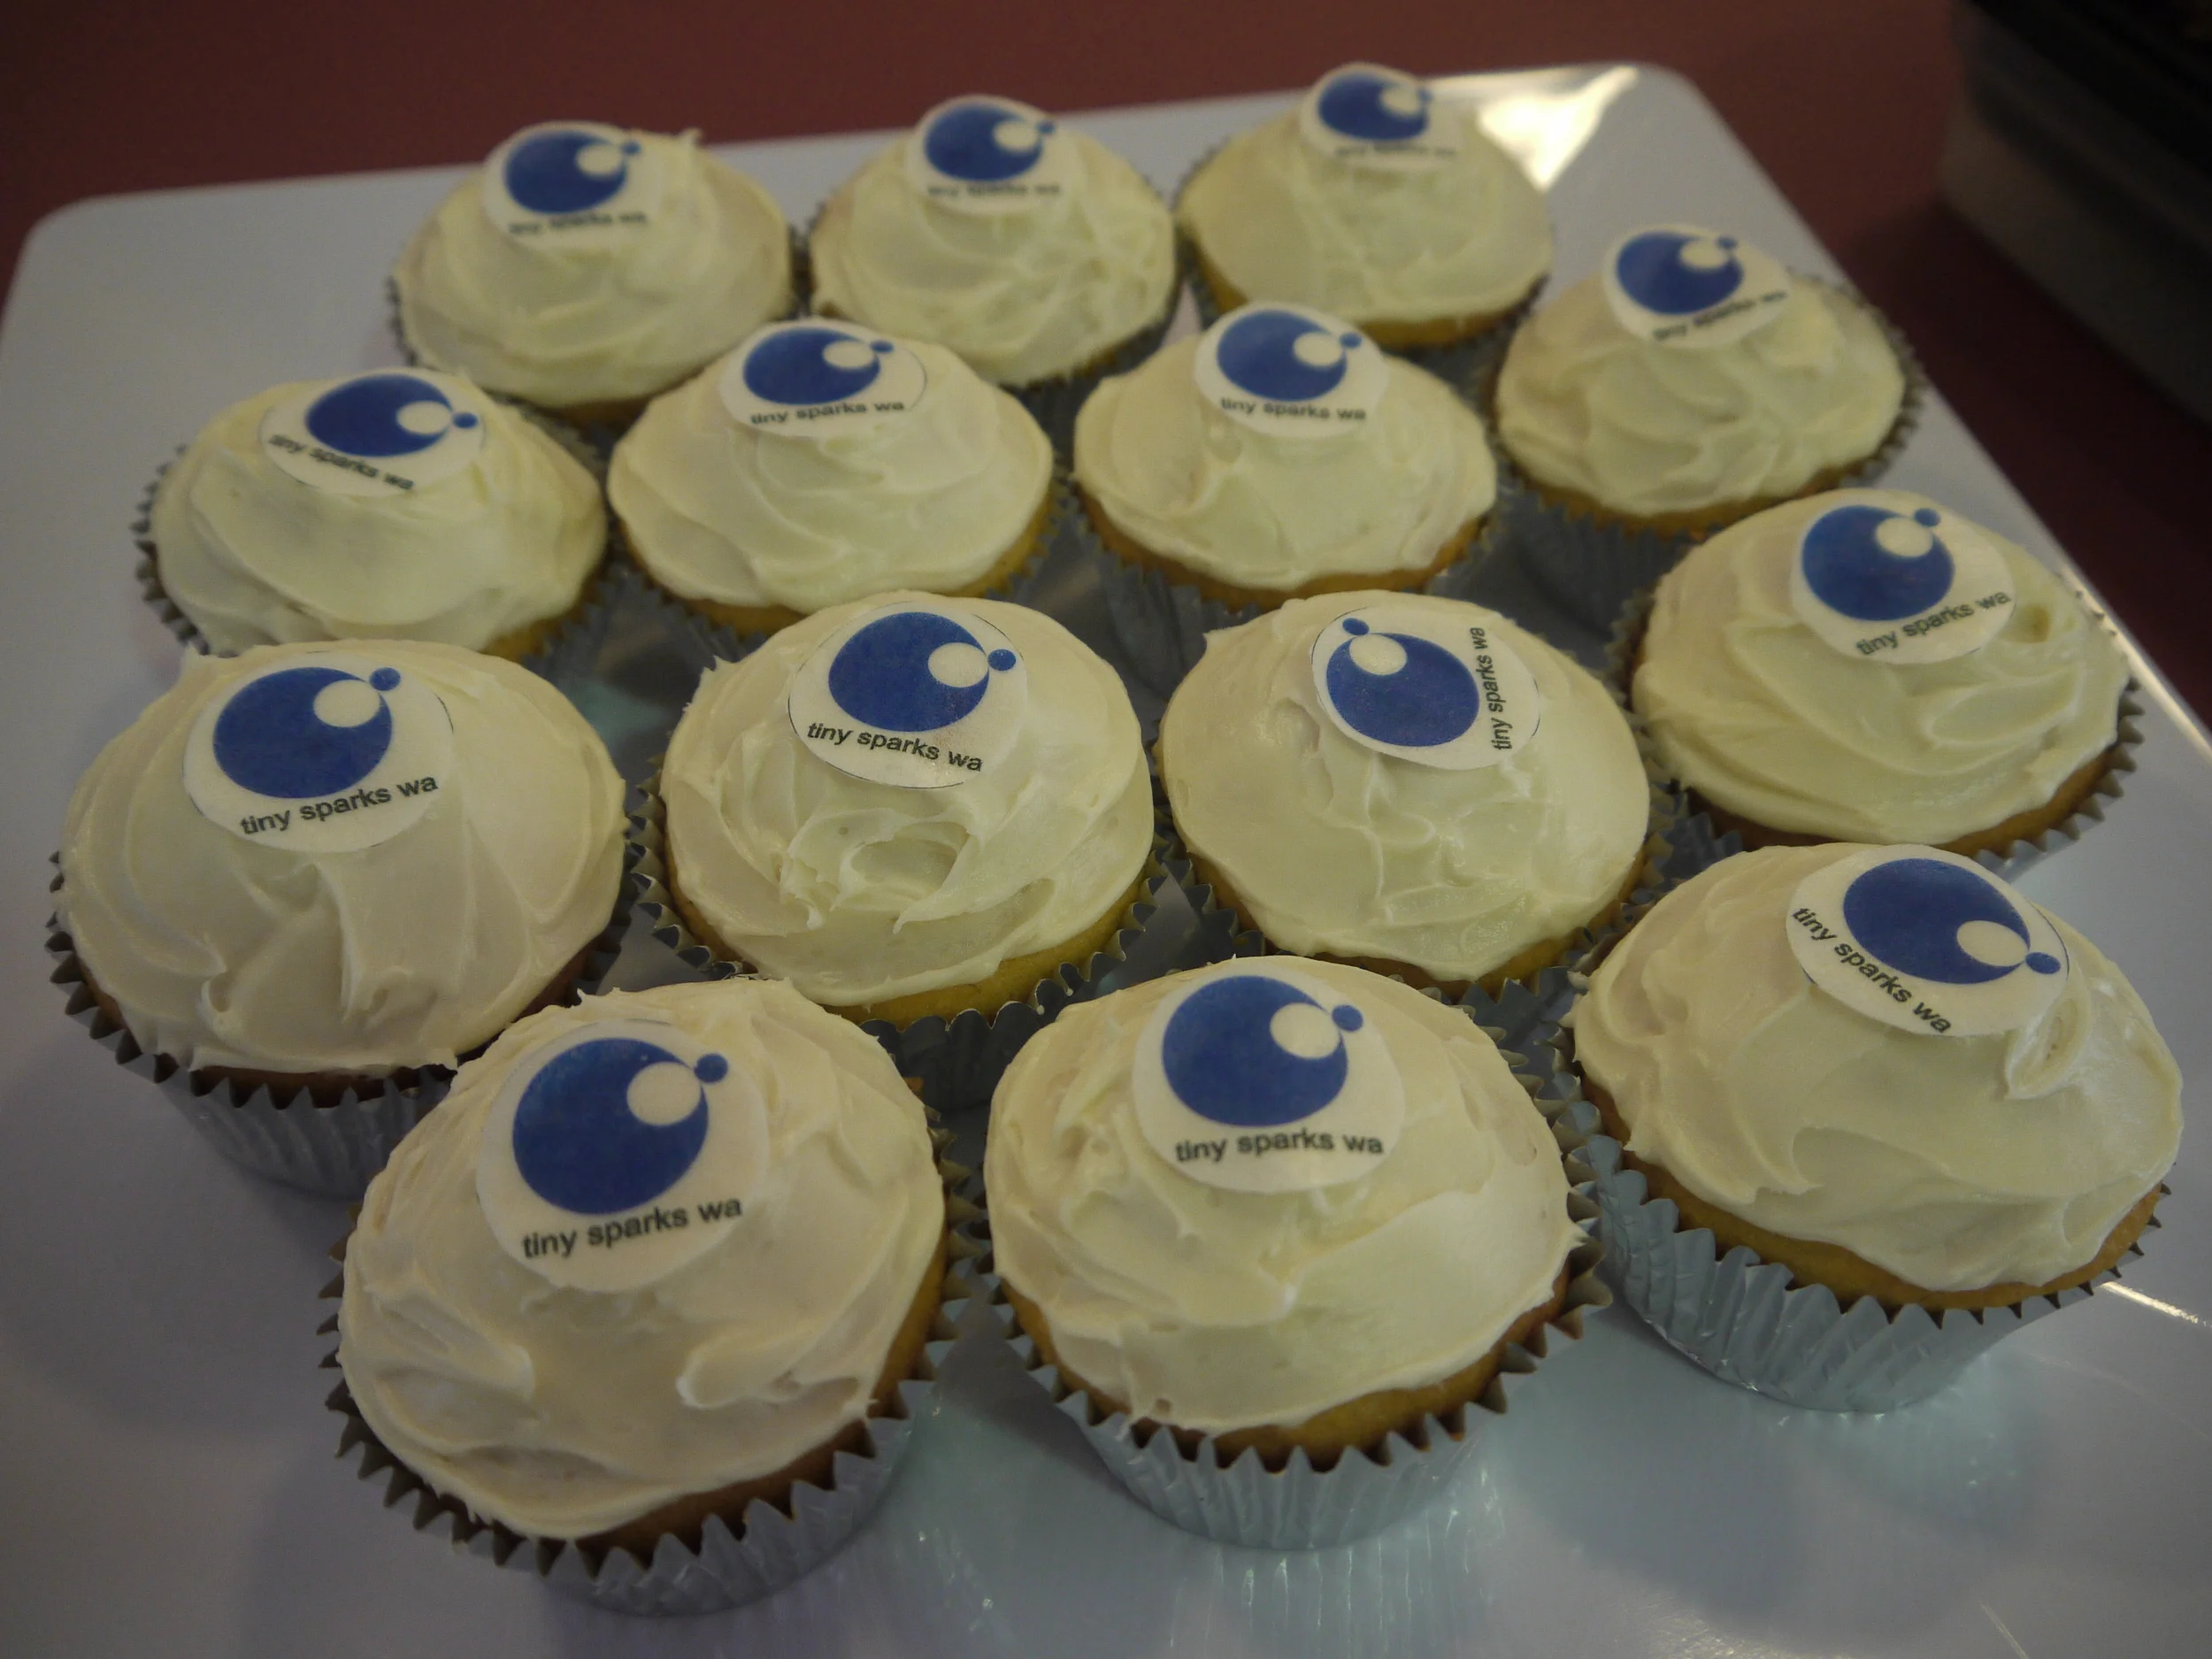
We are pleased to include below the directions for making both of these outfits. If you would like to have a go at creating some of these precious outfits to donate to Tiny Sparks WA for inclusion in our Neonatal Care Packages, we would be very grateful! You may use any reasonably light weight cotton fabric you wish, and you may send the finished item with or without press-studs, Tiny Sparks WA are happy to attach the press-studs with our specialty equipment.
Knitted beanies are also welcome, but donations of outfits without beanies is perfectly acceptable, these items do not necessarily need to come as pairs. [Update 2 April 2015: The knitting pattern for these beanies is available here]
Finished outfits (and/or beanies) can be sent to: Tiny Sparks WA, PO Box 1114, West Leederville WA 6901, Australia.
A list of answers to FAQs can be found at our knitting and sewing page.
Girls' NICU Outfit
The pattern for the Girls' NICU outfit can be downloaded from the knitting and sewing page here The pattern is available in 1.2kg and 1.6kg sizes.
Material should be light weight cotton and pre-washed. Depending on the materials pattern and your placement, you will need approx 22cm x 45cm of each lining and outer fabric for the 1.2kg outfits (i.e. a 'fat quarter' of each lining and outer fabrics should make two outfits) and a slightly larger piece for the 1.6kg size.
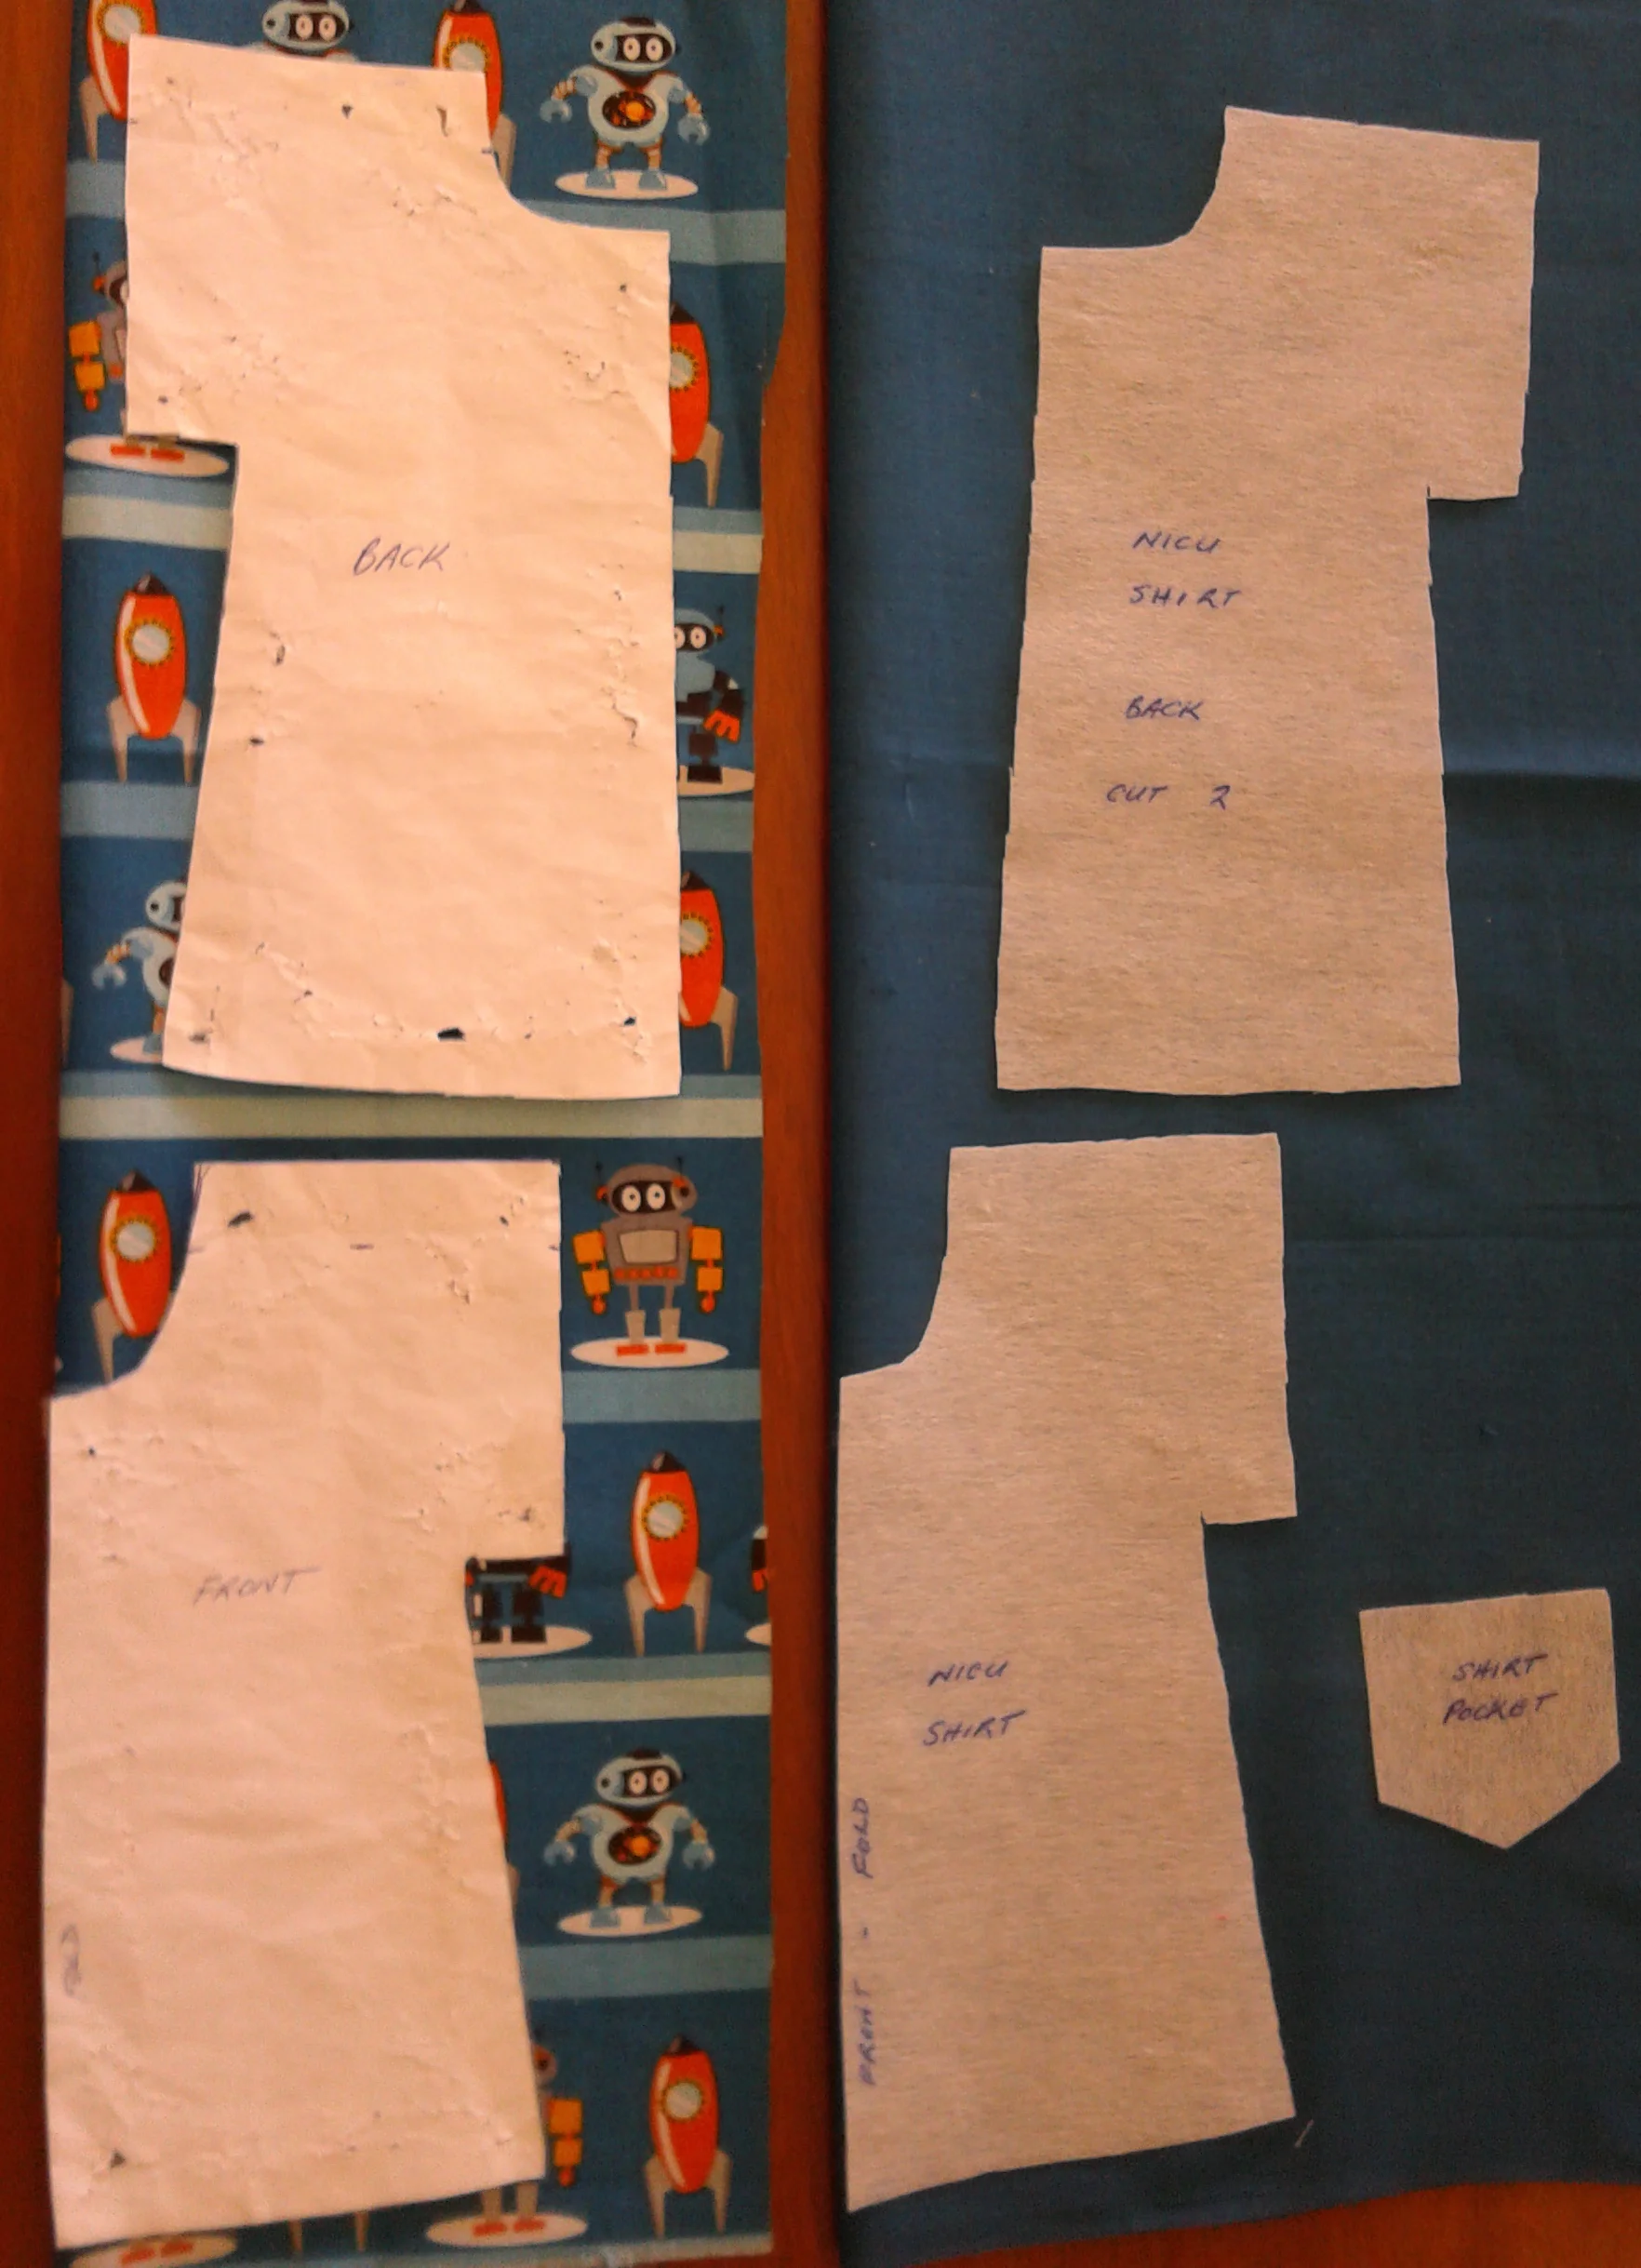
The pattern is designed to be printed at 100% scale on an A4 piece of paper. There is a small square which should measure 1cm x 1cm when printed to ensure the patten is the correct size (9.5mm - 10.5mm is acceptable).
Step 1
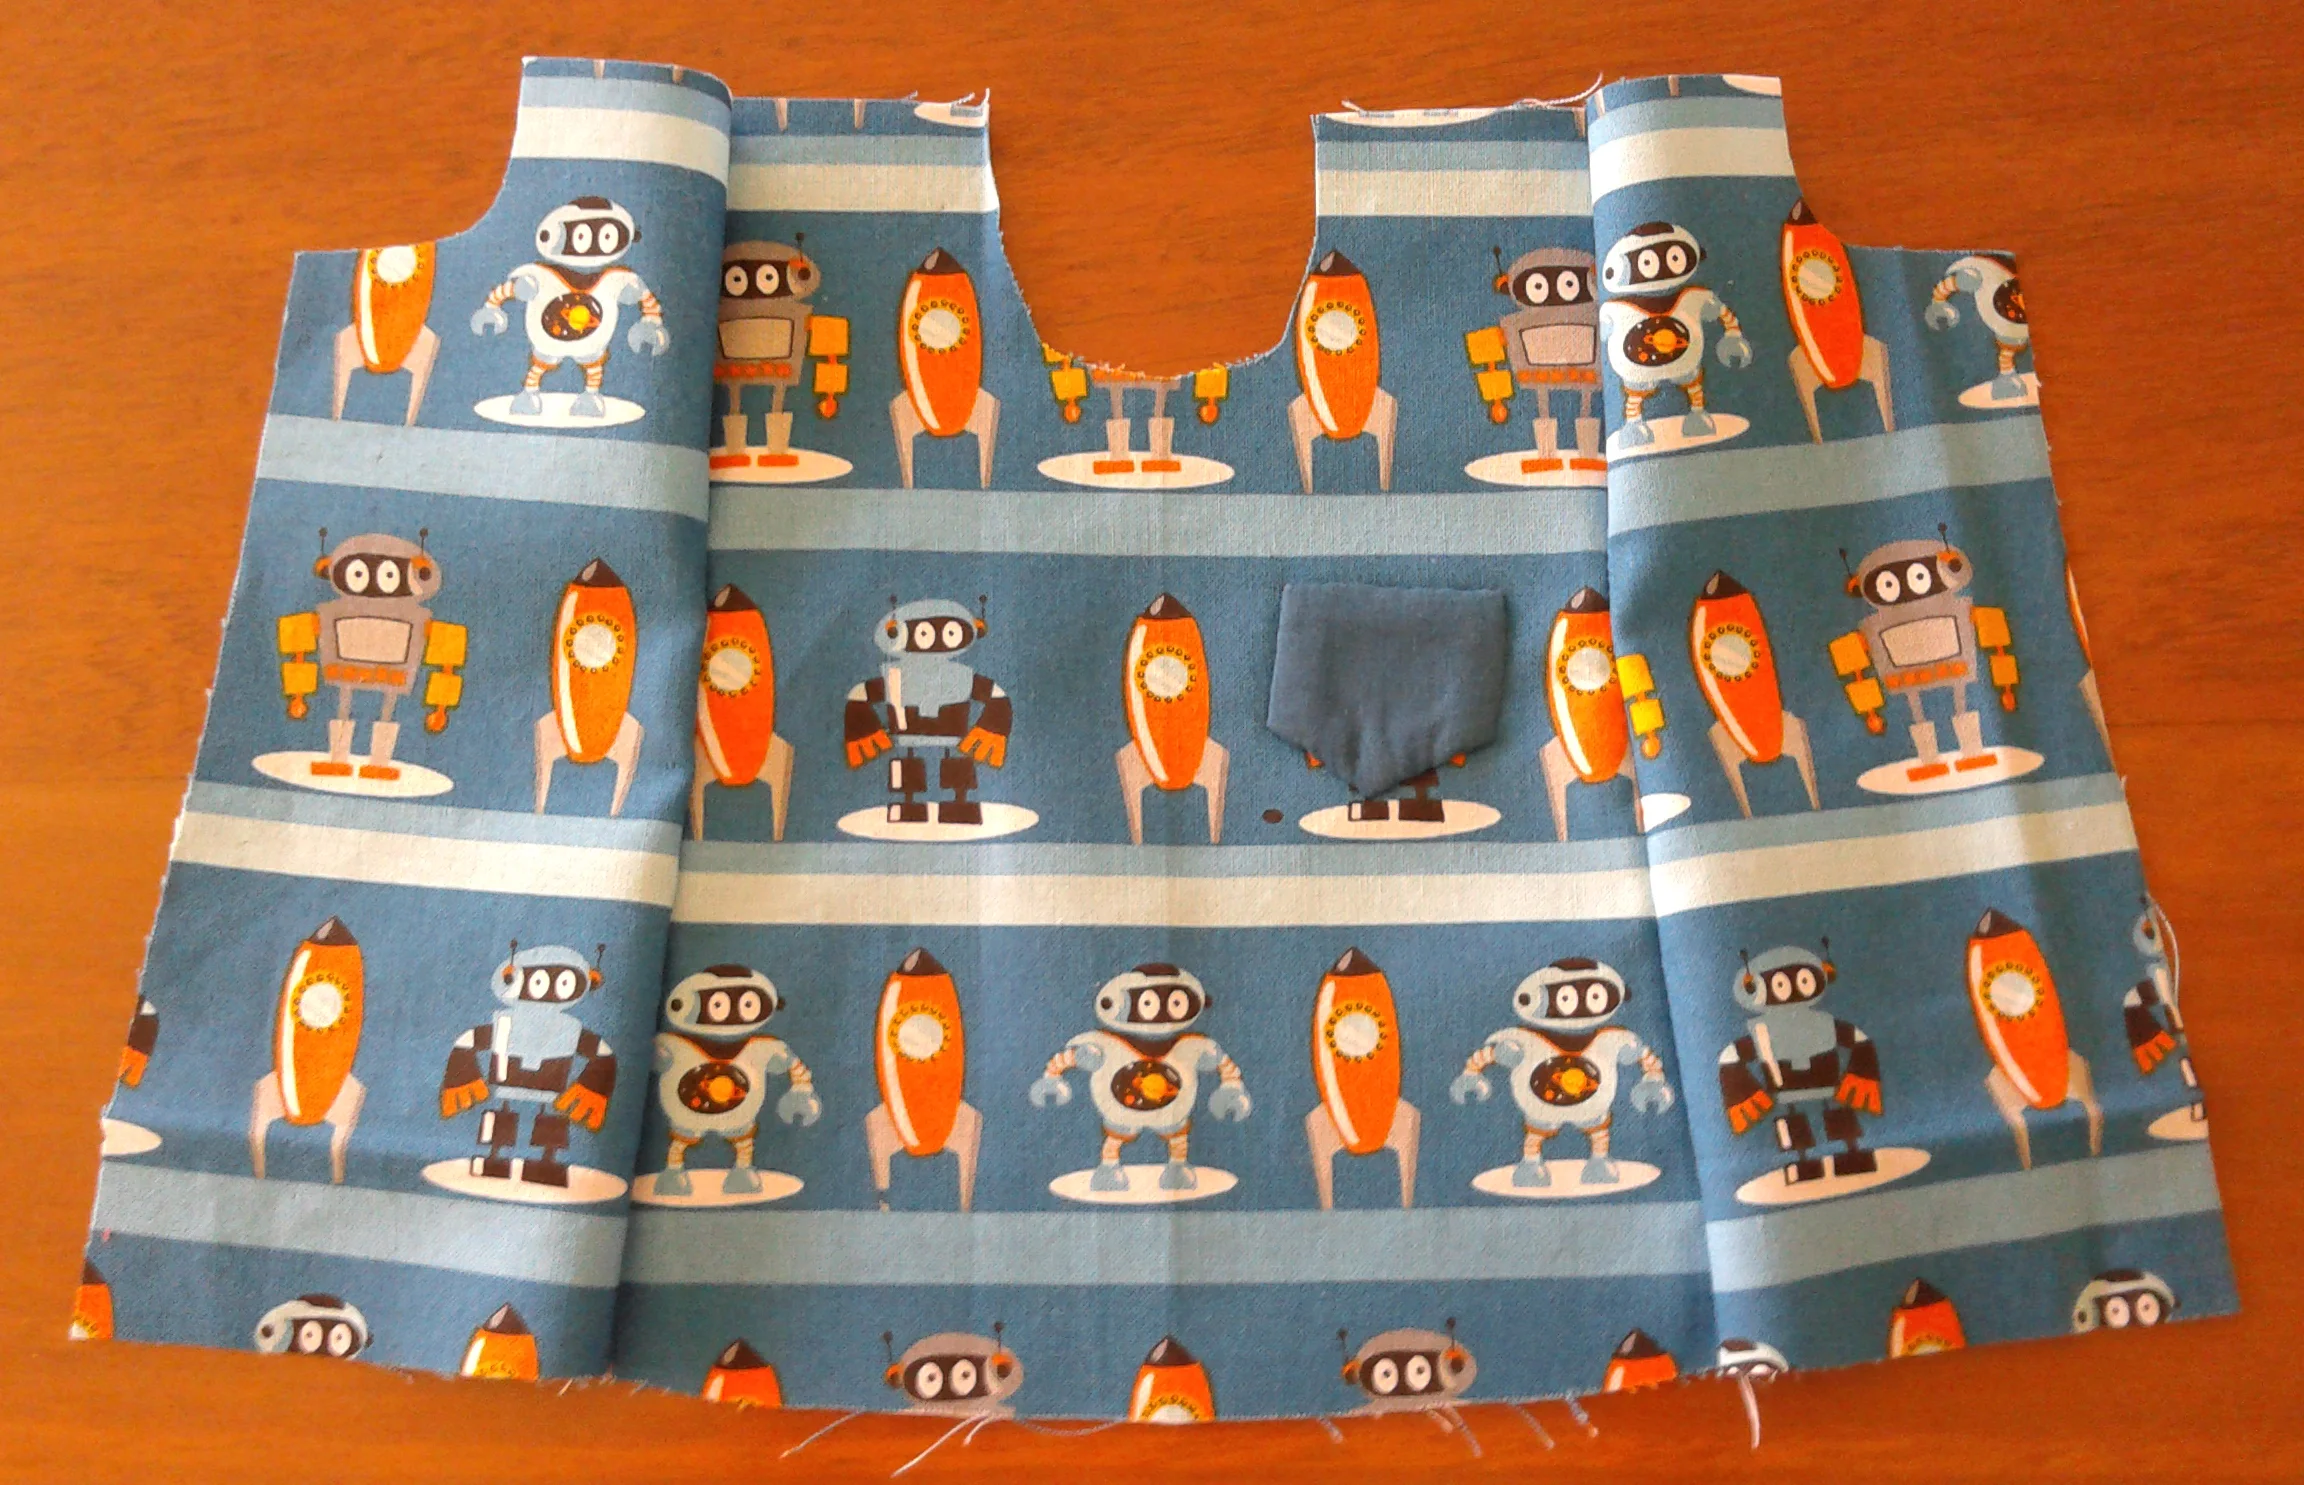
Cut 1 x outer material and 1 x lining material out of FOLDED fabric, with folded edge placed where pattern indicates. The unfolded product is shown in Step 2.